Showing posts with label Tracy Funk. Show all posts

Thursday, October 26, 2017

Wonderful little boy layout - September Falling Leaves Kit

Hi again! It's Tracy here with my 6th project with the gorgeous Scraps of Elegance September Kit, "Falling Leaves".

"Evan's New Glasses"

I used a bit more flowers and leaves from my stash on this one, but the cream roses, two larger brown flowers, the printed chipboard border and all the patterned papers are from the kit and add-ons.


Main Kit

Patterned Paper Add-on

Coordinating Paper Add-on

Elements Add-on

Floral Add-on

I started with the beautiful "Friendship" paper from the Amber and Apricot collection by Blue Fern Studios (included in the Main Kit).  I misted the edges of the paper with water and then dabbed some diluted brown ink from a reinker bottle to the wet edges using a paintbrush.  I also used a splatter stamp with the brown ink to tie in the darker browns from the tinted photo.


The die-cuts were made with paper from the Main Kit, Patterned Paper Add-on and Coordinating Paper Add-on.  I layered each of the die-cuts over a dark brown copy and offset them slightly to accentuate the edges.

The chipboard vines were from my stash.  I heat-embossed them with Vintage Photo Distress embossing powder and then used an embossing marker with Tea Dye Distress embossing powder to add some colour variation to the leaves.


Here are a couple more close-ups:


Thank you so much for taking a look!


Thursday, October 19, 2017

Adorable Fall Layout - Falling Leaves Kit

Hi, it's Tracy back again to share my 5th project with the gorgeous Scraps of Elegance September Kit, "Falling Leaves".

"Happy Little Moment"


Main Kit

Coordinating Paper Add-on

Elements Add-on

Floral Add-on


I started with the beautiful "Busy Bees" paper from the Amber and Apricot collection by Blue Fern Studios (from the Main Kit).  I then made some die-cuts using papers from the Main Kit and Coordinating Paper Add-on.  As I usually do, I layered these over a dark brown cardstock copy and offset them slightly to accentuate the edges.  

I inked around the edges of the background paper, die-cuts, orange flowers (from the Main Kit and Floral Add-on) and the printed chipboard pieces (from the Elements Add-on) to make them stand out a little more. The two red flowers and small oak leaves were from my stash.  All the other flowers, leaves and lace, and chipboard were from the Main Kit and add-ons.

Here are some close-ups:


Thank you so much for taking a look!


Friday, October 13, 2017

Weekend Inspiration with a golden Fall layout - September 'Falling Leaves' kit

Hi, it's Tracy here to share my 4th project with the gorgeous Scraps of Elegance September Kit, "Falling Leaves".

"Sunny Disposition"


Patterned Paper Add-on

Floral Add-on


This was a fairly simple layout to make. I started with the beautiful "Sunny Disposition" paper from the Amber and Apricot collection by Blue Fern Studios (available in the Main Kit).  I used the backside of another sheet of the same paper (available in the Patterned Paper Add-on) to make some die-cuts to layer under the photo.  I layered each die-cut over a black cardstock version and inked around the edges in brown.  


I also fussy cut a flower and flower bud from the second sheet to use in the flower cluster.


The butterflies and coconut buttons were from my stash.  The chipboard corner piece was from the Main Kit and the flowers were from the Floral Add-on.  


I embossed the chipboard corner flourish with Peeled Paint Distress Embossing Powder and then rubbed some white paint overtop with my fingertip to grunge it up a bit.


Thank you so much for taking a look!


Tuesday, October 10, 2017

Too cute to spook Halloween layout - September Falling Leaves Kit

Hi, I'm back today with another layout using the gorgeous Scraps of Elegance September Kit, "Falling Leaves".

"Little Lion"

Main Kit

Coordinating Paper Add-on


Elements Add-on


Floral Add-on


I started with the beautiful "Fall Postcards" paper from Prima's Amber Moon collection available in the Main Kit .  I then made some die-cuts using the "Into the Woods" paper (also in the Main Kit) and the "Pumpkin Season" paper (in the Coordinating Paper Add-on).  As usual I layered the die-cuts over a dark cardstock version and offset them slightly to accentuate the edges.  I also applied some brown chalk ink around the edges of the die-cuts and the background paper.


The seed stems were made with the microbeads included in the Main Kit.  I used the wired stems off some old flowers from my stash, coated the ends with Beacon's 3-in-1 glue and poured the microbeads overtop.  To make the thicker ones, I wrapped some floral tape around the end of the wire before coating it with the glue and microbeads.   I stuck the bottom of the wires into a sheet of styrofoam until the glue dried.  I then lightly coated them with some fluid matte medium to help keep the microbeads from falling off.


The chipboard piece was from my stash.  I painted it orange and then inked over it with some darker orange and brown inks to give the colour some dimension. The coconut buttons were also from my stash.  All the flowers and other embellishments (Amber Stones, ephemera)  were from the Floral Add-on and Elements Add-on.


Thank you so much for taking a look!


Friday, October 6, 2017

An Enchanting Autumn layout - September Falling Leaves kit

Hi, it's Tracy Funk here again to share my second project with the beautiful September Scraps of Elegance Kit, "Falling Leaves".

"By the Shore"


Main Kit

Elements Add-on

Chipboard Add-on

Floral Add-on

For this layout I used some of the beautiful "Amber and Apricot" papers by Blue Fern Studios from the Main Kit.
I did a bit of stenciling on the background paper ("Birdsong" from the Main Kit) using Scattered Straw and Vintage Photo Distress Inks applied with a Clarity stencil brush.

I then made some die-cuts to layer under the photo using the "Faded Blooms" and "Chapters" papers from the Main Kit.   I layered each of the die-cuts over a black copy and offset them slightly to accentuate the edges.  I also applied some brown ink around the edges of each one and around the edges of the background paper as well.


The chipboard wreath was painted green and then watery layers of brown and green paint were added overtop to add shading and dimension.  I cut off the part that would have been hidden under the photo and used it on the other side.


After that is was just a matter of gluing down the chipboard and die-cut layers and adding the other embellishments.  The coconut buttons were from my stash.  All the other embellishments were from the Main Kit or Add-ons.

Here are a couple more close-ups:


Thank you so much for taking a look!


Tuesday, October 3, 2017

An adorable fall layout - September Falling Leaves Kit

Hi, it's Tracy Funk here today with my first project using the gorgeous September Scraps of Elegance Kit, "Falling Leaves".

"Pumpkins"


Main Kit


Coordinating Paper Add-on


Chipboard Add-on


Floral Add-on


Elements Add-on


I started with the beautiful "Pumpkin Season" paper from Prima's Amber Moon collection, included in the Coordinating Paper Add-on as the background.
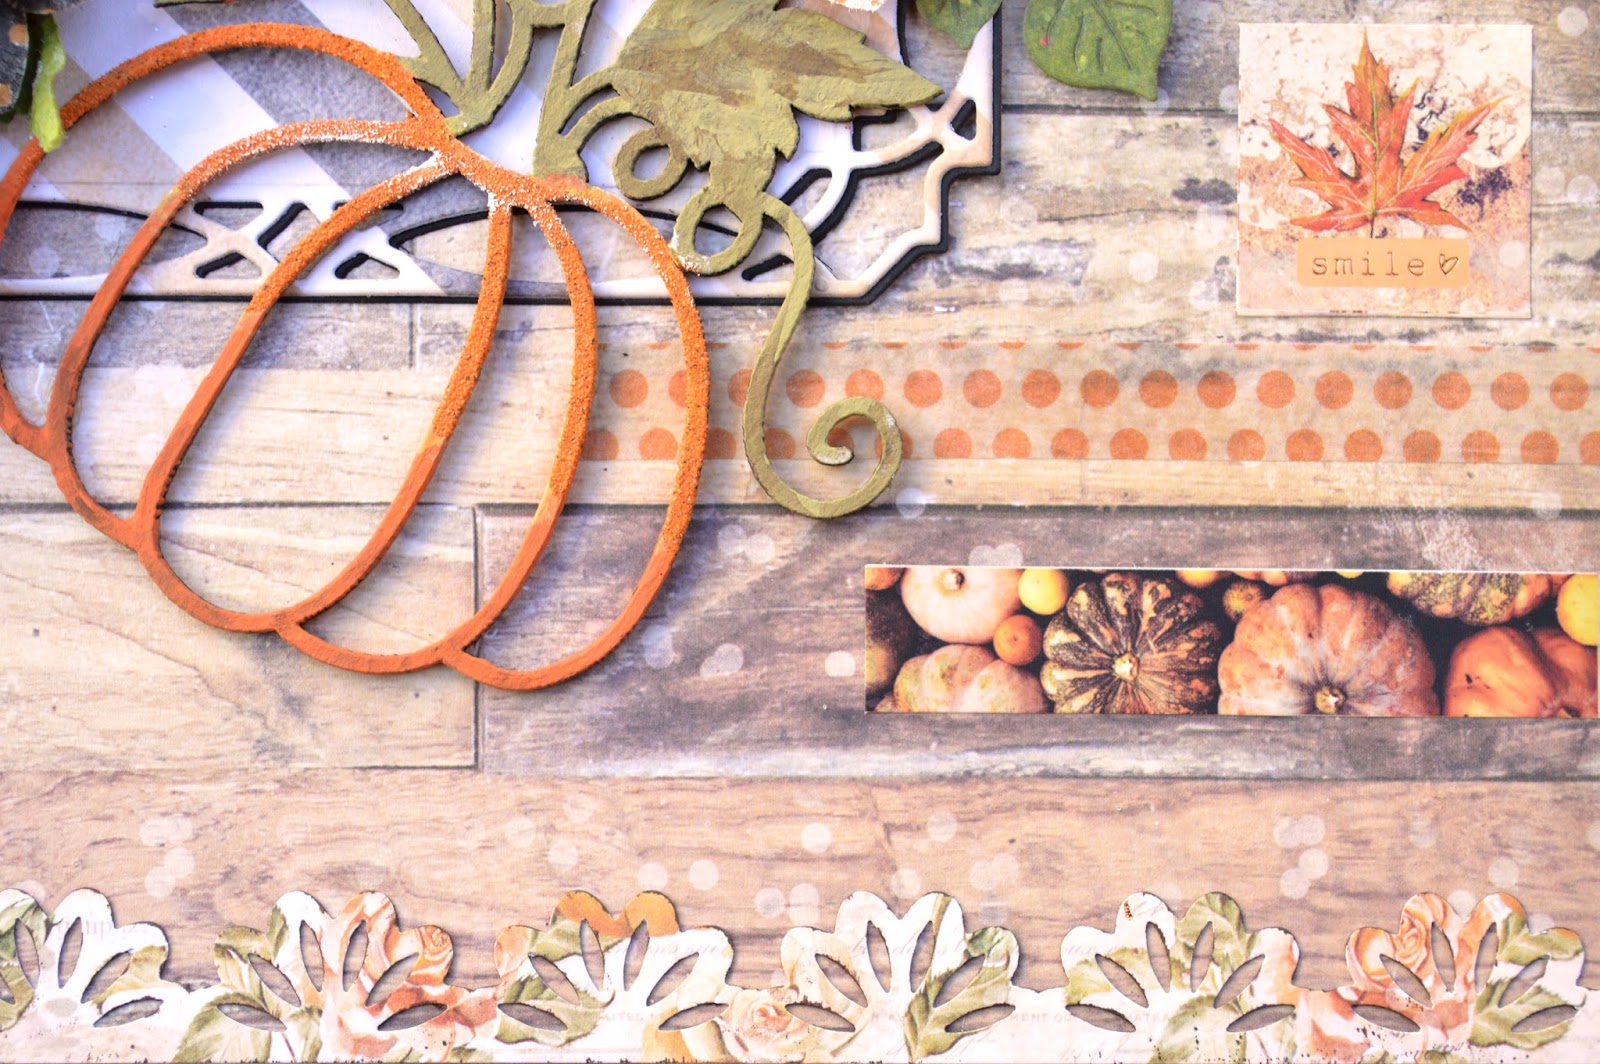
I cut a strip of paper from the "Into the Woods" paper (Main Kit) and punched the edges with a stitch pattern punch, layering this over a strip of black cardstock to make the pattern more noticeable. I then glued this onto the background and applied the orange polka dot washi tape from the Elements Add-on along the sides.  I added some more washi tape strips on the right side of the layout,
horizontally.


I also used a floral edge punch with the "Into the Woods" paper to make decorative strips for the left, upper and lower edges of the layout and for some die-cuts.  More die-cuts were made with the "Autumn Sunset" paper from the Main Kit.  I used some green paper from my stash for the leaves.


I painted the chipboard pumpkins and applied a brown wash overtop to grunge them up a bit and give them some dimension.  I also added a bit of orange embossing powder to the pumpkins.


The buttons and small orange roses were from my stash.  The rest of the flowers were from the Floral Add-on.


To finish, I added a couple of stickers from the Main Kit, a butterfly from the ephemera in the Elements Add-on and brushed a bit of white paint on the edges of a few of the flowers to add some more dimension.


Thank you so much for taking a look today!